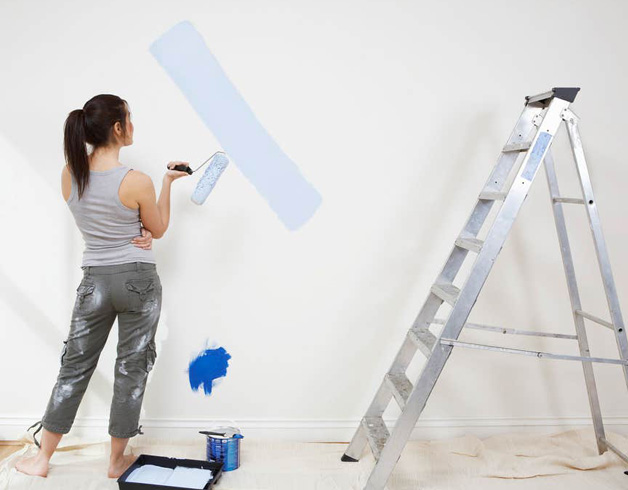
Pre Painting Process
- Ensure sufficient curing has been done to the walls. Minimum 7-21 days.
- Check the surface for any leakage or dampness.If you found any such problems rectify them before starting to paint. Allow them to dry
- Fill up any cracks. It should be treated with recommended crack filling process.
- Fill up any nail holes with primer and cover the switch box with sand.
- Make sure to remove all the movables from the room. If you can’t, place it in the center of the room and cover them.
- Ensure to cover the floorings.
Surface Preparation
- Cleaning – Clean the wall area. It should be free from dust.
- Ensure to scrub off all the old paintings and loose plaster batches If you are painting an old wall surface.
- Scrub with sand papers to give a dry finish.
- Cover all the parts of the building that should be free from paint splatter such as doors, windows, switch boxes, furniture etc.
Painting
- Caulking – Fill up the door and windows sidewall cracks by caulking process.
- Primer – Apply one coat of Primer. We already discussed why primer is important?
- Putty – Apply one coat of putty. The putty paint will give a smooth finish to the wall and rectify any undulations on the wall surface. Warning – Putty are very expensive. If the wall has more undulations you end up with a big hole in the wallet.
- Paint – After finishing putty ask electrical people to fix switch box. Once switch boxes are fixed to ensure to cover them up to avoid paints splattered all over them. Apply 2 coats of paint.
Top


